Wednesday, December 8, 2010

One Dollar Wednesday...Sock it to me!

For One Dollar Wednesday I had so many ideas running through my head, but when I found this pair of socks, at Target Dollar Spot, I knew exactly what I wanted to do.


First I cut one of those socks into sections.


Then I cut one end to make a longer strip.


I set my sewing machine to a "basting" stitch, and sewed down one side.


After I stitched, I pulled one thread to "gather" the fabric strip.


I knotted the four ends of thread together, and repeated the above steps two more times.


I closed my "circles" with a little dot of hot glue.


Then I cut "petals" in each of my circles.


I used the cuff of the sock to cover my alligator clip.


I layered all my circles together, added a green vintage button, and it was good to go.

Tuesday, December 7, 2010

Around the Town Tuesday featuring...The Festival of Trees

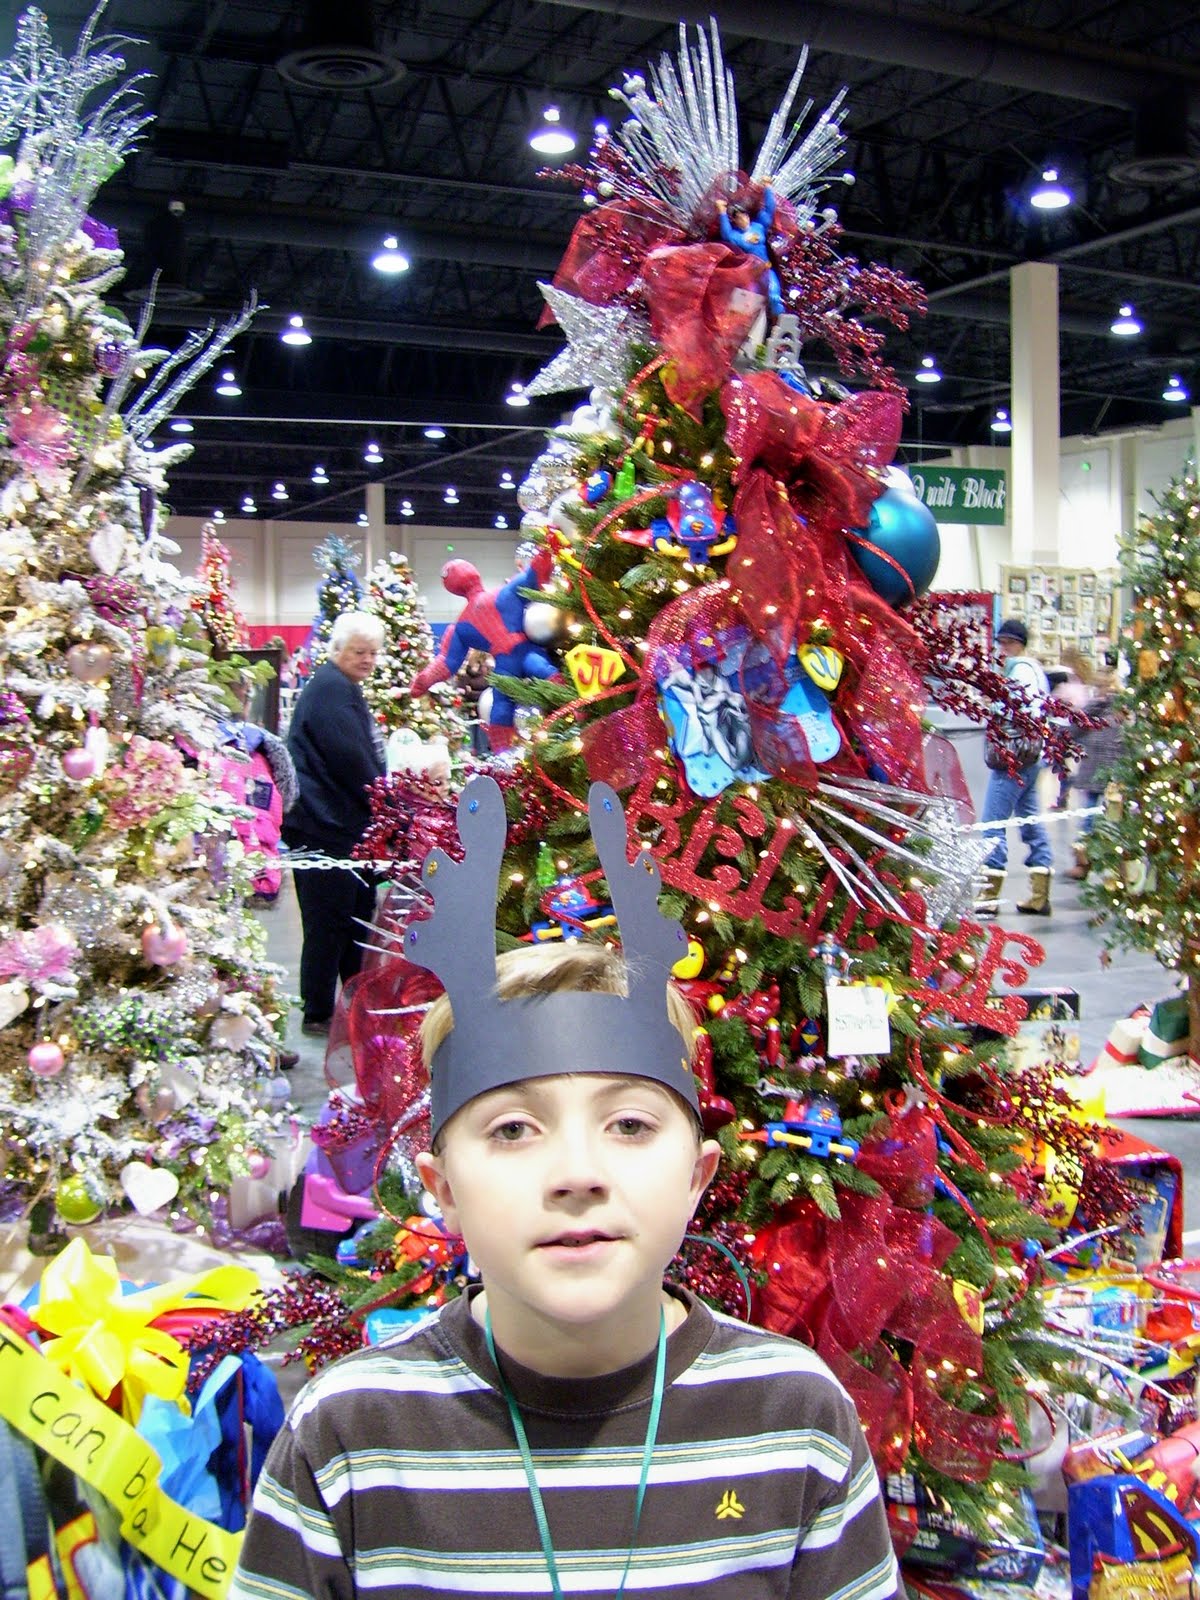
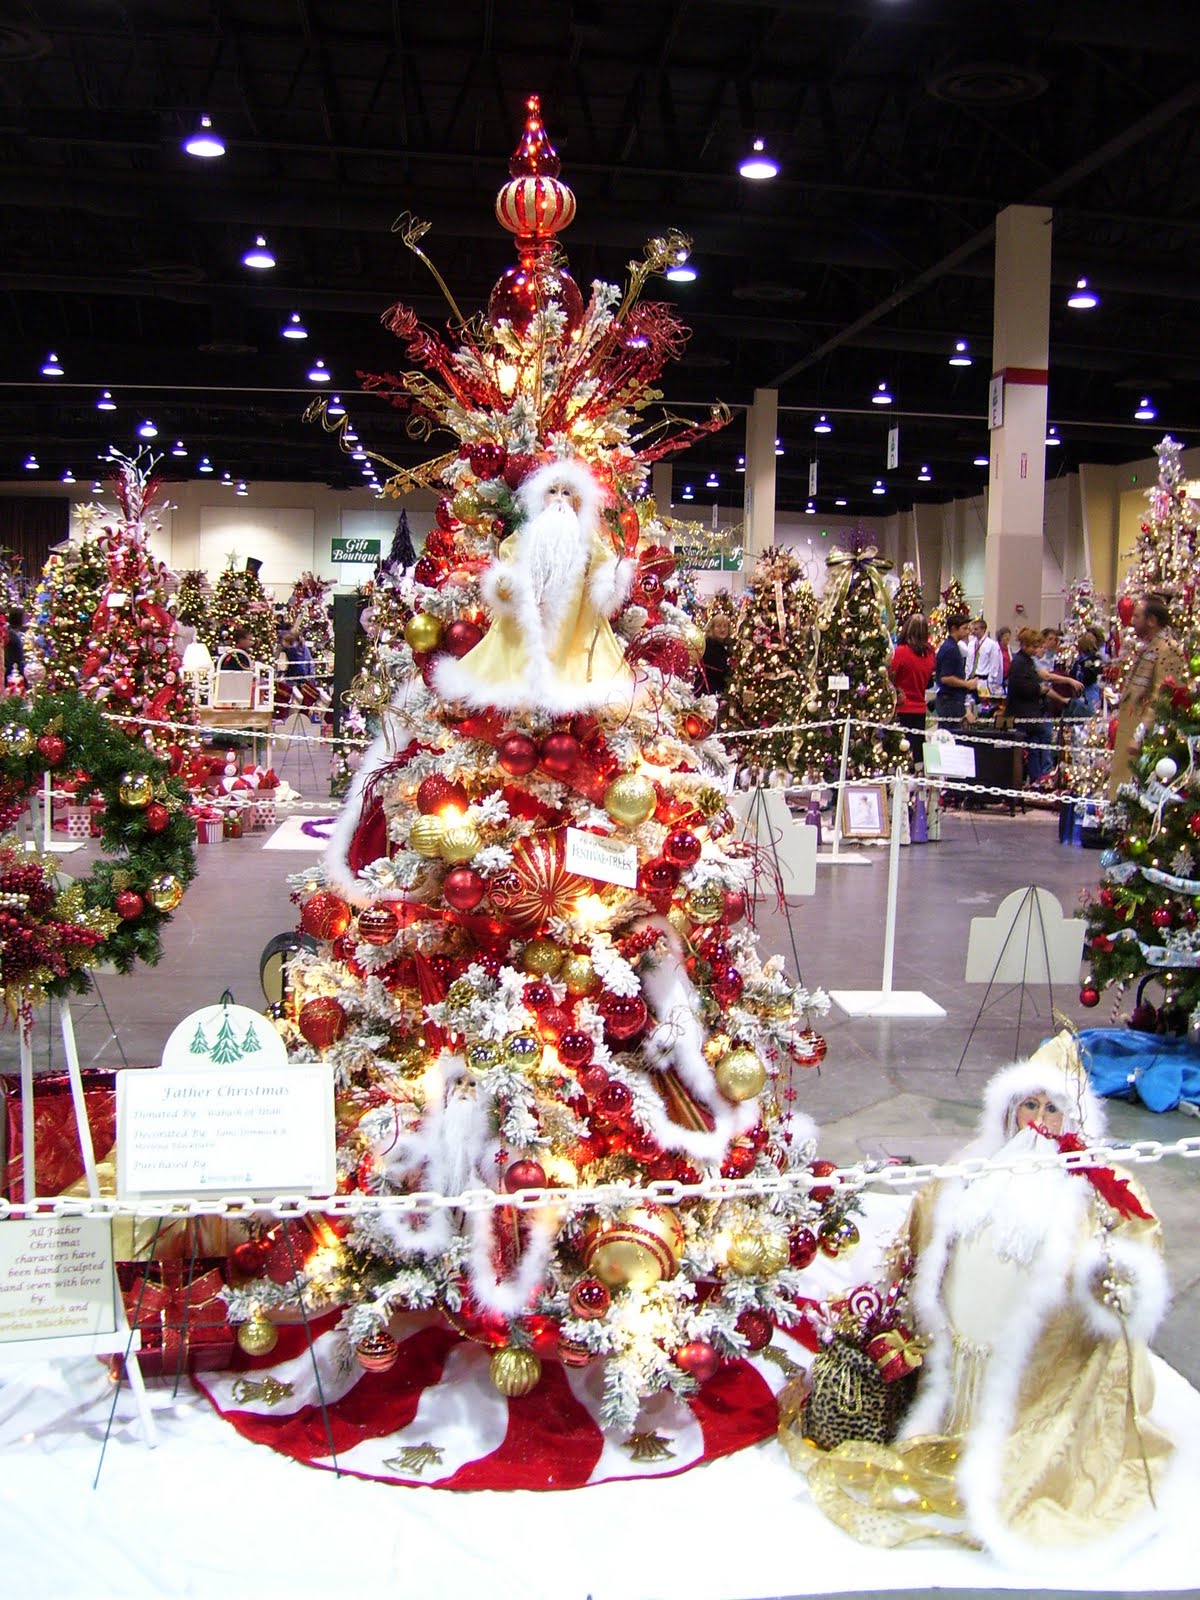
I had the opportunity to go to The Festival of Trees this year! I haven't been for ages, since I live in Arizona, but it was so much FUN to go back and see all the gorgeous trees. The kiddos had lots of fun in the "Kids Corner", making crafts, and getting manicures, etc. I wish we could go every year...

I found a white Christmas tree at a thrift store recently, but I left it behind. Now I am KICKING myself for that decision. Look at this lovely flocked specimen...


Wouldn't this Western Tree be adorable in a little boy's bedroom?


My kids looked THRILLED to be tagging along, don't they?


Love, love, love, love, love this wreath!


The kids did get excited when I promised to take a picture of each one of them in front of their favorite trees...

Here we have The Wizard of Oz...


The Pink Poodles...


and The Super Hero tree...


This one was my favorite, and I can't wait to incorporate some of the design elements into my tree NEXT year.


Another favorite...


"C" is for Cookie, and that's good enough for me!


Last but not least, a pretty little gingerbread house to add to me obsession.

Monday, December 6, 2010

Neighbor Gift Ideas: Sand Art Brownies

Remember back in the 90's when sand art was all the rage?? I remember going to an amusement park and paying to make some cool sand art. As an ode to a once popular trend, I have revived sand art, just a bit, with these sand art brownies. It is actually a recipe I got from my Mother, I think she got it from a friend when sand art was in it's prime. As I was doing some holiday shopping for various gifts at IKEA a few weeks back, I came across this super cute jar. It is a 37 ounce jar, with stars etched on it and it was quite the deal at $3.99.I layered the ingredients, then found a scrap piece of Christmas fabric, and secured it with some baker's twine. I printed out the instructions and gave it to my cute friend.
Here is a view of all the layers. I think it turned out pretty cute myself!
Here is the recipe for Sand Art Brownies:

Layer the following ingredients at the bottom of a quart jar as follows:
1/3 cup cocoa powder
2/3 cup sugar
1/2 cup white chocolate chips (optional)
1/2 cup chocolate chips (I usually use semi-sweet)
2/3 cup brown sugar
1 Cup + 2 TSBP flour
1/4 TSP salt
1/2 cup chopped nuts (optional)

I usually leave out the white chocolate chips and nuts when I am giving this to neighbors, since many don't like them.

Here is the instructions for your note:

Add:
1 TSP vanilla
2/3 cup vegetable oil
3 eggs

Bake at 350 for 30-35 minutes in a 9x9 greased pan. This recipe makes 16 brownies.

What are you giving your neighbors and friends this season?

Saturday, December 4, 2010

One Dollar Weekend...easy Christmas framed art.


Because I missed One Dollar Wednesday this week, I thought I'd throw in a quick One Dollar Weekend project. All these items were found at the Dollar Tree.

I started with this cute gift sack...


and added a simple picture frame and decorative tissue paper.


First, I cut the front off of the gift bag.


Next, I decoupaged tissue paper to my frame backing, and my gift bag front was decoupaged to that.


I put the frame back together...


and put it out for display.


What an easy project~~ have a WoNdErFuL wEeKeNd!

Friday, December 3, 2010

Holiday Obsession~ Gingerbread Houses

There are a few things, that come along with Christmas-time, that I wish I could enjoy all year through. One of those things is Gingerbread Houses. They are so much fun to look at, and to create. I have tried a few different varieties over the years, and have settled on the pre-baked/boxed version that I can pick up at the craft store. For some reason, my homemade gingerbread never turns out, unlike the one's I found online. Super-cute!


I would even live in a gingerbread house, if the opportunity presented itself!

Thursday, December 2, 2010

It's Beginning to Look A Lot Like Christmas...

...especially in our house. Every year in our home, it's a tradition to decorate the day after Thanksgiving (and not a day earlier according to my hubby). This year, I decided to change up my decor a little bit after being inspired by various blog tutorials and my lovely neighbors' (who happen to be interior designers) beautiful all-decked-out-for-the-holidays home.

One of my favorite things that I made was a tree skirt that I whipped up based on this tutorial by Kojo Designs. Simple, super-cute, and finished in under an hour! Now that's my kind of sewing project :)


The camera flash makes it look a lot more tomatoey, pinky red than its true color but it fits right in with my red/leafy-green type theme.


I can't decide if my favorite part is the big damask buttons or the pom-pom trim that I added. The only thing that I changed from Kojo Design's tutorial was that I eyeballed the whole thing due to my laziness in wanting to measure anything. It may not be perfect, but it turned out great and no one would ever know, so go for it and whip out a tree skirt in less than an hour!


I also loved these Dinner Napkin Snowballs from House of Smiths (love her blog!) So easy, so fun, and I can leave them out all winter, can't beat that!


This next decoration I just whipped up myself (which means it must be easy :) I bought the two larger, cone-trees from Tai Pan and had bought a couple boxes of mini-ornaments from Joann's on Black Friday that I didn't end up needing or using so I just grabbed my trusty mini-glue gun and hot-glued the heck outta them! I ended up with a (semi-symmetrical) silver ornament cone tree.


The last craft I'll share tonight was meant to be hung in my house but I didn't end up liking the way it was looking so on the door it went! It actually turned out quite well since it saved me from finding or making another Christmas-y wreath :) The Pretty Poppy posted this Pretty Little Rosie Wreath back in the summer and I thought it would be the perfect wreath for me to use around Christmas time. Between this project and the ornament tree, I used almost an entire small bag of mini glue sticks (and tried my husband's patience with hot-glue residue on our couch, whoops) but it was definitely worth it and I've gotten a lot of compliments!


I have been loving that I am less busy with school (I graduate a week from tomorrow! Yay!) and have more time to spend doing things that I want to do like spend time with my family and make things that I've had on my list for awhile. I'll be back next week with a little more about me and some more fun crafts to try! Happy Holidays everyone!

Wednesday, December 1, 2010

Five Dollar Friend Gift

Tis' the season of giving! I think that one of the most challenging parts of the season, isn't the actual shopping for gifts, but it is thinking of what to give. I try to put some thought in and really find a good gift, but that can take some major effort. This is a really good gift for friends, or a neighbor who you are really close to, it is the CHOGIST cheese grater. I gave this to my Mother one year, she loved it so much she gave it to my Aunt, and now they both give it out to their friends and neighbors. It is no surprise that I love IKEA, but I can always find great stuff there for a reasonable price. The reason why this grater is so great (he he he), is because it grates your cheese right into the bowl and comes with a lid, so that if you don't use all of your cheese for dinner, you can put it in the fridge for later. It comes with the bowl, the lid, and 2 graters (a large and a fine) for only $4.99! So I threw a bow around it and attached a note underneath that said "Hope you have a "grate" Christmas!" Simple, cheap, and an awesome gift!
Related Posts with Thumbnails