
Now on to my project for the day...
There are so many tutorials out there about making beautiful fabric flowers to
embellish t-shirts, headbands, purses, etc.. I've wanted to make some of these beauties, but couldn't seem to find the time to get myself to the fabric store. I started to obsess a bit every time I saw a pretty fabric flower. I'm a Penny Pincher to a fault, and thought of a completely new concept (to myself anyway) Why not dig through that bin of old clothes I've got to take to the Goodwill?

Well, I found some usable fabrics and got started. These are my first attempt, and I hand sewed them.

Because I don't have hours and hours to spend sewing, I thought I'd glue a few, and see how they looked. Keep in mind, if you're embellishing t-shirts, you'd want to sew them so they can go through the laundry.
First, I cut my strips of fabric. The longer the strip, the bigger your rose.

Then you tie a tight knot in one end, and trim the excess.

Now the fun part... You twist the fabric, and gently roll it around your knot. Use little dots of hot glue to secure your fabric as you go. **Remember** less glue is always better than too much. (please forgive the blurriness)

Just keep twisting, rolling and gluing...

When you get to the end, secure your fabric to the back of your rose with a bigger blob of glue. You'll end up with this~

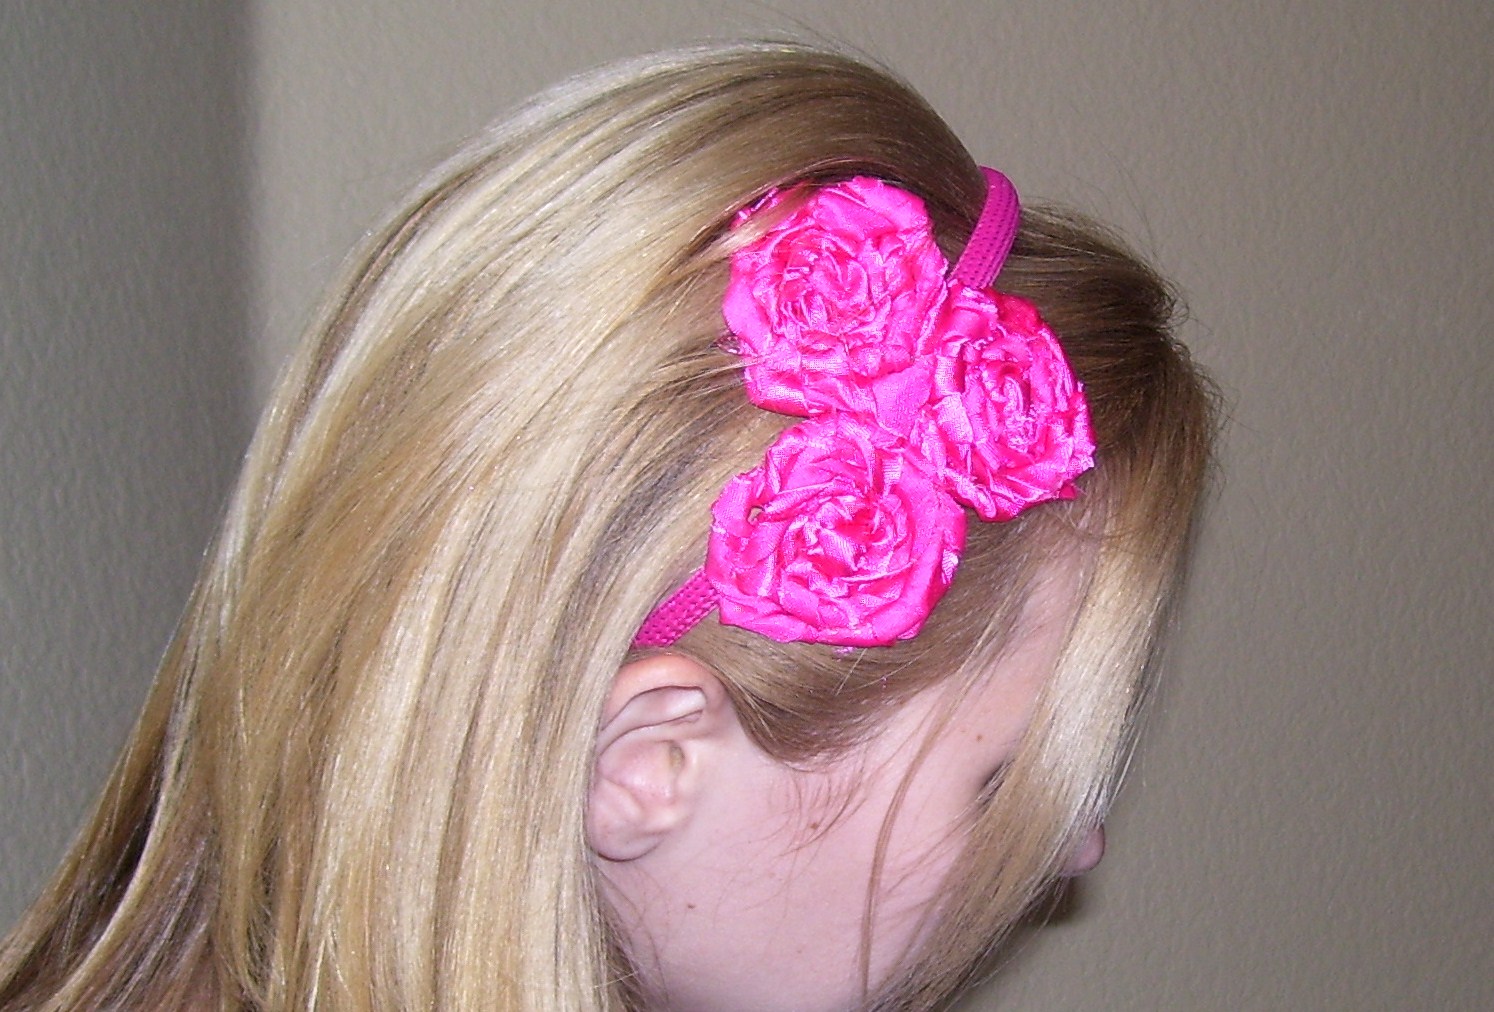
Now make two more~

Add them to a headband, and you've got a fun, new, FREE accessory!

I love making these! Thanks for sharing your how to. Mine was a little rough around the edges & tying a knot first made a big difference.
ReplyDelete